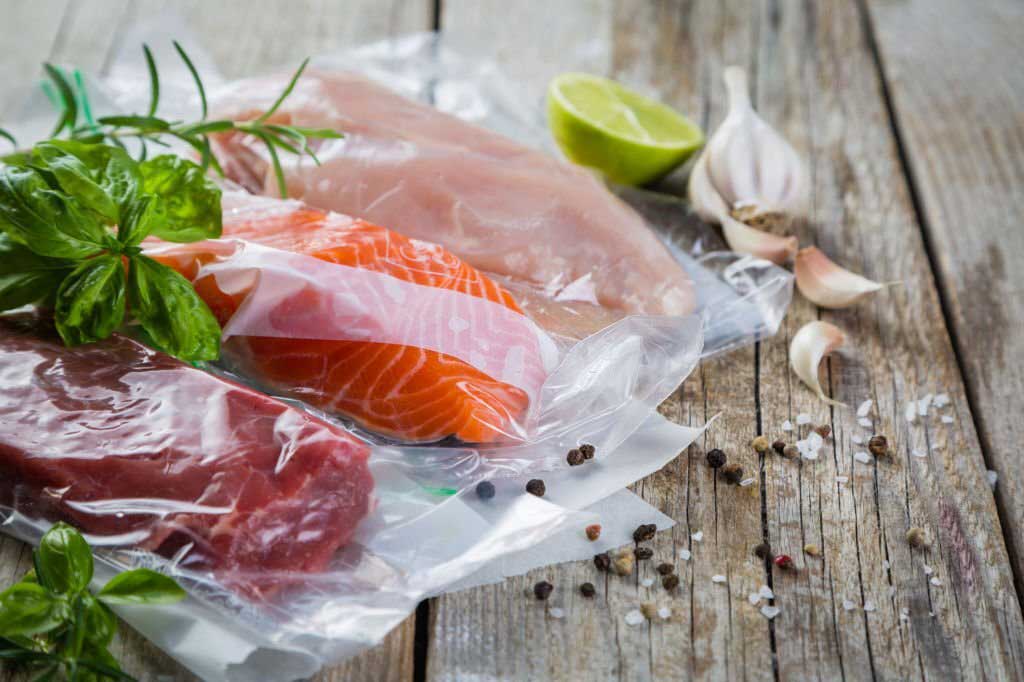
Putting food items in a vacuum-sealed bag means we are removing air and moisture from the food to increase good storage and refrigeration time. The problem comes when you have to cook and reheat vacuum-sealed foods.
However, cooking raw food in these bags is quite impossible, and reheating pre-cooked food is convenient. Many people are unaware of the vacuum-sealed foods cooking and reheating process.
This comprehensive guide will share how to cook and reheat vacuum-sealed food. Continue reading.
How to Cook and Reheat Vacuum Sealed Foods – Step by Step Guide
We will use a microwave oven and stove for the re-heating process. Following vacuum-sealed foods cooking methods will be shared.
How to Reheat Vacuum Sealed Food using Microwave
Using a microwave is the easiest method of reheating vacuum-packed food. Follow the below steps carefully.
Step 01: Take the sealed packet out from the freezer 5 minutes before reheating the food. Grab a pair of scissors, and cut one corner of the bag. The steam will get released from the pack during the re-heating process.
Step 02: Now, put the sealed bag into your microwave. While selecting the heating setting, be tactical. All food doesn’t need the same time and temperature to get re-heated. So, set the timer and temperature according to the food item.
Step 03: Whatever minutes you set, it would be best to check the food after every 1 minute. Microwave the food if it requires more heat. Make sure not to recook the food.
Note:
- When reheating other food items like soups or chill, set the temperature and timer as low as possible. Also, remove them from the bag and reheat.
- Reheat food items using the microwave with full caution to maintain the aroma and taste of the food.
- Avoid melting plastic.
How to Reheat Vacuum Sealed Food Using Stove
You can reheat pork, pasta and chicken on the stove quickly and efficiently. Before putting them on a stove, they need to be stewed. Let’s look at the steps intently.
Step 01: Get a bigger pot than the food bag. Pour water and fill the pots in half.
Step 02: Place the pot on a stove and gently boil the water. When you see bubbles in the water, rescue the stove’s heat. Next, put the food bag into the water and wait for a few minutes.
Step 03: Check the food after 15 minutes. Look for any cold spots. If cold spots are unavailable, the food is reheated. While cold spots are available, follow the same process again.
Note:
- Don’t boil the water as boiled water may melt the plastic.
- Keep a close eye on the bag since it should never touch the bottom or corners of the pot.
- Avoid cutting the corner of the bag. Water may get inside the bag, and a mess may occur.
- When reheating in a ninja or crockpot, use the warm function and remember to do the seasoning.
How to Cook Vacuum Sealed Foods?
In order to cook vacuum-sealed foods, we will follow a new cooking method, “sous vide.” This is a slow cooking method where food is vacuum packed in a plastic bag, and then the bag is cooked in low-temperature water.
Let’s go through the step-by-step process below.
Step 01: Water Bath Preparing
Pour water into the pot. Leave enough space at the top so that after adding the food, water doesn’t overflow.
Step 02: Thermometer Mounting
Get a heavy-duty clip clamp and a thermometer. The clip clamp will help you mount the thermometer on the pot’s side. Checking the water temperature is essential in the sous vide method. The thermometer will help you do so.
Step 03: Water Heating
Turn the burner on. Apply medium-low heat until water temp reaches the required cooking temperature. Follow a time and temperature guide for well-tested and flavorful food. Maintain a steady cooking temperature by adjusting the burner.
Step 04: Prepare the Food
Get the vacuum-sealed food, open the seal, and put the food in a zip lock bag. Also, add herbs, olive oil or butter to the bag if you want.
Now, place the zip lock bag into the water while opening the top. Thus, air can easily escape from the pack. Clip the bag at one corner of the pot.
Step 05: Complete Cooking
After putting the food into the pot, it is necessary to bring the required water temperature back. This will take a few minutes since the pot consists of a lot of water and cold food.
Turn the timer on when the temperature reaches the desired level. For example, to cook a medium-rare 1” thick steak, 136° F and 1 – 3 hours of cooking time are mandatory.
Step 06: Sear (Optional)
You may need to sear the food item before serving. Place a large pan on the burner and heat it until it is super-hot. Then open the zip lock bag, remove the food using tongs and put them on the hot pan. Add aromatics or butter as desired. Sear the food perfectly.
Note: Searing can be done before the sous vide method. Whether you need to sear the food before or after the sous vide, depends entirely on your personal preference.
Step 07: Season Before Serving
Sprinkle some salt and pepper over the food and serve it.
You are done cooking vacuum sealed d with sous vide method.
FAQ
What if my vacuum-sealed food turns brownish in the bag?
Your food can turn brownish in the bag due to a lack of oxygen. Still, the food is safe to eat.
What is the lifespan of vacuum-sealed food?
Once you vacuum-seal a food item and put it in a deep freezer, the food can last a few months to years.
Are all vacuum-sealed bags oven-proof?
No, you can’t put all vacuum seal bags in an oven because all bags are not built for the oven. In this case, use oven-proof vacuum-seal bags like cryovac.
Summary
In recent times, saving food and leftovers for later reheating is a widespread tradition in most families. Wasting food is terrible, and preserving food in a vacuum-sealed bag to extend its lifespan is never a bad option. Hopefully, now you know how to cook and reheat vacuum-sealed foods. The above steps will help you prepare tasty, yummy and flavorful food for your breakfast, brunch, lunch and dinner.