A coffee percolator is a great machine to have at your disposal. This machine ensures that you get to drink delicious refreshing coffees every day whenever you need them.
A coffee percolator is portable friendly too, so you can carry it around from place to place. A stovetop coffee maker is one of the popularly used coffee percolators.
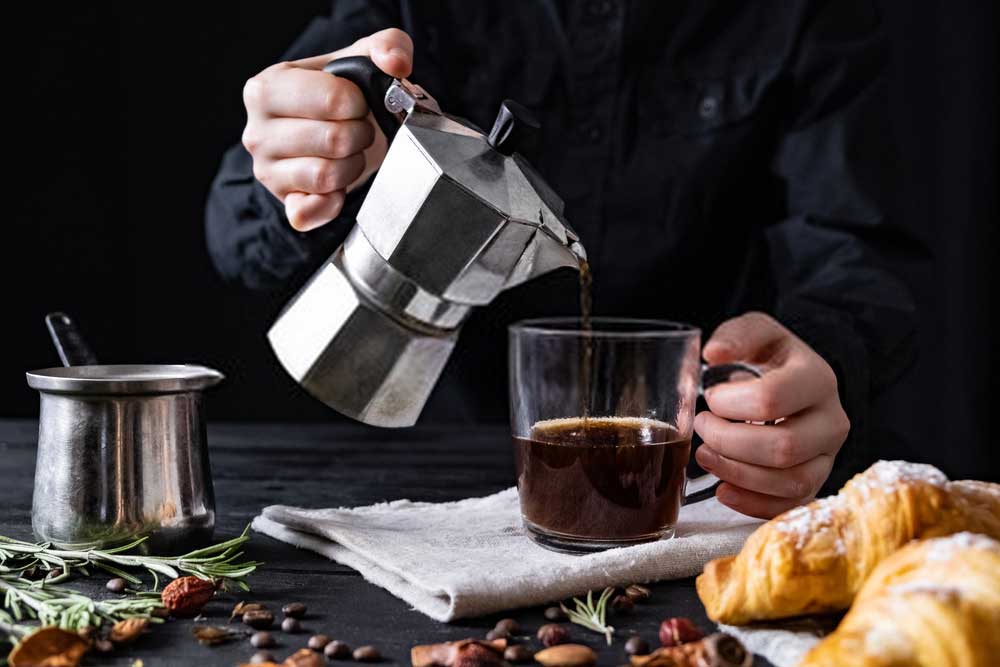
And learning about how do stovetop coffee makers work is going to give an answer to the other question you might ask which is – how does a coffee percolator works.
The General Principle on How the Coffee Percolator Works
The coffee percolator makes the coffee by an over-extraction process. Firstly, you provide the coffee beans inside the percolator. Then add water to the designated place. And after that, you put the percolator on the stove. We break the coffee beans into small pieces.
After some time, the water starts boiling. Then, the cold water becoming hot comes to the surface of the percolator & mixes with the coffee beans in a uniform manner & runs over small pieces of coffee grounds extracting the flavor.
This continues until the coffee is prepared for drinking. You can also control the brewing time & brewing process through the use of a percolator.
If it happens that you brewed coffee for a long time, that might extract a whole lot of flavors that might end in an intense strong refreshing coffee flavor. There are many people who like this.
On the other hand, if you are not fond of intense & bitter coffee, you should not brew the coffee grounds for a longer period. And this is the reason why you definitely need to be close to your coffee percolator when you are making the coffee for yourself.
It is definitely better to be extra careful when you are brewing coffee so that you don’t burn it or make the over-extraction process too lengthy.The final result of brewing the coffee in this process is that you get a very delicious smooth creamy coffee experience.
Necessary Pieces of Equipment
- Whole Coffee beans of your choice
- Coffee percolator
- Coffee bean grinder
- Water
- Measuring Vessel
- Spoon
- Mug or Glass
Step by Step Procedures on how does a Coffee Percolator or Stovetop Coffee Percolator Works to Make Coffee
Step 1: Measuring the Amount of Coffee You Need
Different percolators have the capacity to make different volumes of coffee at a time. Some can make 10-12 cups whereas others might only make 3-4 cups. And the amount depends on your choice & number of people at your home. So, this is something to keep in mind for sure.
And for brewing the perfect tasty delicious coffee, you need to keep the maintenance of perfect coffee/water balance & also the time is very important to keep your eye on. If you let the percolator on the stove boiling for a long duration, your coffee might get burned & it will taste too bitter & too strong.
So, you need to measure the amount of coffee you need & you need to also measure water accordingly as per ratio. It is recommended to provide 30 grams of complete coffee beans for every 500 grams or ml of water at the beginning. Otherwise, your water/coffee ratio might get ruined & which will ruin your perfect coffee experience.
If this is your first time using the percolator to make your coffee, it is expected that a few batches of your coffee won’t be that good. The ratio & timing will ultimately result in the change of flavor of coffee making it too bitter or too strong or else. You need to figure out the perfect ratio & time and even the perfect coffee beans in order to make your ultimate favorite coffee. It might take time.
Step 2: Grinding the Coffee Beans
This is another big step you need to take at the beginning. The better you grind the coffee beans, the better flavor will be extracted from the coffee ground to make your coffee even better.
It is recommended to use coffee grinders for making perfectly ground even-shaped coffee grounds. Medium-coarse coffee grounds work best in a stovetop percolator. If it is too big, you might just be wasting expensive coffee beans & if too small, it might provide more bitter coffee.
A good coffee grinder can help a lot in this grinding process which changes your coffee experience immensely. So, you might consider buying a good-quality coffee grinder for yourself.
Step 3: Filling the Percolator with Water
Putting the coffee or stovetop percolator on the stove, at first you add the necessary amount of water inside the percolator. You add water so that, it will be perfectly boiled by the time you add coffee grounds. It is recommended that you provide 500gm water for 30gm whole coffee bean or keep this ratio for a well-made tasty coffee.
Step 4: Adding the Coffee Grounds
Then you add the coffee grounds to the filter basket inside the percolator as per your measurement.
Step 5: Increasing Temperature
The percolator needs a big temperature for making the perfect coffee. The temperature ranged between 195 to 205 degrees Fahrenheit. So, you need to increase the temperature to the right amount.
Step 6: Keeping Focus
There is a glass knob present on the top of most percolators which helps people to know when the water has been boiled to the perfect amount. You need to keep your focus on that glass or plastic knob so that you don’t ruin your coffee.
You should let the water boiling at that condition and check for bubbling through the glass knob for the next few moments. If the bubbles are constantly coming to the surface of the knob, then you know the water has boiled. And if the bubbles aren’t been seen through that knob, then you turn the temperature up until you can induce the bubbles to surface.
This water runs through the whole machine mixing up with coffee grounds & extracting flavor. This process keeps continuing until you can see coffee-colored water.
Step 7: Checking the Timing
When the water has been boiled to the right temperature and you can see the bubbles at the surface at a constant interval, then you know the process is almost complete. From here on, the percolator is said to need about 6 to 8 minutes to complete the process of making the coffee. You can use a timer if you want or just keep checking the time.
But this is where you can customize the timing. If you like strong bitter coffee, then let the coffee percolate through the machine for a longer duration. You need to keep checking on the temperature & the water so that you can don’t lose control & overdo the process.
Step 8: Removing From Stove & Removing the Coffee Grounds
After the required time passes, you should remove the percolator from the stove. It will be very hot, so you should use oven mitts or gloves when moving the percolator. Then you should take out the filter basket from the percolator and remove the coffee grounds. Many coffee percolators possess filter baskets that help a lot with the removal process of coffee grounds.
If you don’t remove the coffee grounds first, then there is a big possibility that some grounds might even pop into your coffee mug. And it is always better to remove the coffee grounds and not make a mess.
Step 9: Enjoying the Fresh Cup of Refreshing Coffee
Then, the process is complete. And, you can enjoy a refreshing delicious cup of coffee & have a great start to your day.
Final Remarks
Learning the mechanism behind the coffee percolator will help you to understand how the machine works & how it makes coffee. By learning how does a coffee percolator work, we can easily make coffee or any other drinks now. This basic understanding is always important.
Hopefully, this article will help you to easily clearly understand the concept behind the mechanism of producing coffee. We have also talked about how the mechanism of the coffee machine works by explaining different steps on how to make coffee with your percolator or coffee maker machine.